Description
| MEASURING DISTANCE | 5 – 50 cm (dependent on model, coating material, substrate material and layer thickness) |
| MEASURING POINT | Ø 2 – 50 mm (dependent on distance / focal length) |
| SCOPE OF MEASUREMENT | Powder coating without / before / after curing: 1 – 1000 μm / Liquid coating: 1 – 200 μm |
| DURATION OF MEASUREMENT | 20 ms – 2000 ms (dependent on model, coating material, substrate material and layer thickness) |
| MEASURING INTERVAL | 2 – 8 s (optional: 1 – 4 s) (dependent on energy settings) |
| MEASURING INTERVAL IN CONTINUOUS OPERATION: | Standard model / 10s, Robot/lift model / 1s |
| MOVEMENT OF THE MEASURED OBJECT | 15 m/min (dependent on model, coating material, substrate material and layer thickness) |
| STANDARD DEVIATION | < 0,5% (dependent on distance / focal length / dependent on model, coating material, substrate material and layer thickness) |
| ANGLE TOLERANCE | +/- 60° (dependent on model, coating material, substrate material and layer thickness) |
| MAINS CONNECTION | IEC 320-C14 |
| MAINS VOLTAGE | 230 V AC, 50 Hz |
| FUSE | 10 A |
| POWER CONSUMPTION | max. 2000 W |
| OPERATING TEMPERATURE: | Standard model 5 – 30 °C / Robot/lift model – Measuring head: 5 – 50 °C / Measuring device: 5 – 25 °C |
| HUMIDITY | < 60% |
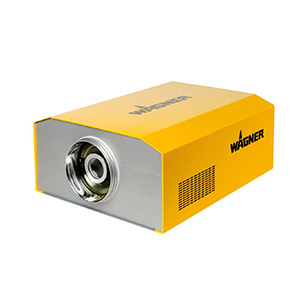
| SIZE & WEIGHT: | Standard model: 38 x 51 x 20 cm, 16 kg / Robot/lift model: 25,3 x 20,4 x 16,8 cm, 5,2 kg |
| INTERFACE: | Ethernet: yes / External control: yes |


